

Call us: 07749674445

You've just noticed it. A cloudy ring under a mug on the sideboard, a dark patch near the dog bowl, or a sticky old spill on the floor that looked harmless until daylight hit it. Many grab vinegar, baking soda, or the nearest spray cleaner and hope for the best.
That's how small marks turn into larger repairs.
If you want to know how to clean wood stains properly, start with one question most guides skip. Is the mark sitting on the finish, in the finish, or in the wood itself? Once you know that, the right method usually becomes much clearer, and the wrong ones are easier to avoid.
Table of Contents
- Why Wood Stains Need a Different Approach
- Identifying the Finish Before You Touch the Surface
- Everyday Household Options Versus Purpose-Made Cleaners
- Removing Specific Stain Types From Wood
- Real Scenarios Where Wood Stain Removal Goes Wrong
- Mistakes That Make Wood Stains Worse
- Maintenance Routine and When to Call a Professional
Why Wood Stains Need a Different Approach
Wood isn't tile, laminate, or plastic-coated furniture. It absorbs, reacts, swells, dries, and shows damage in layers. A spill on wood can leave a simple surface smear, soften the finish, or sink into the timber and change its colour.
That's why one person wipes a mark away in seconds, while another ends up needing sanding and refinishing.
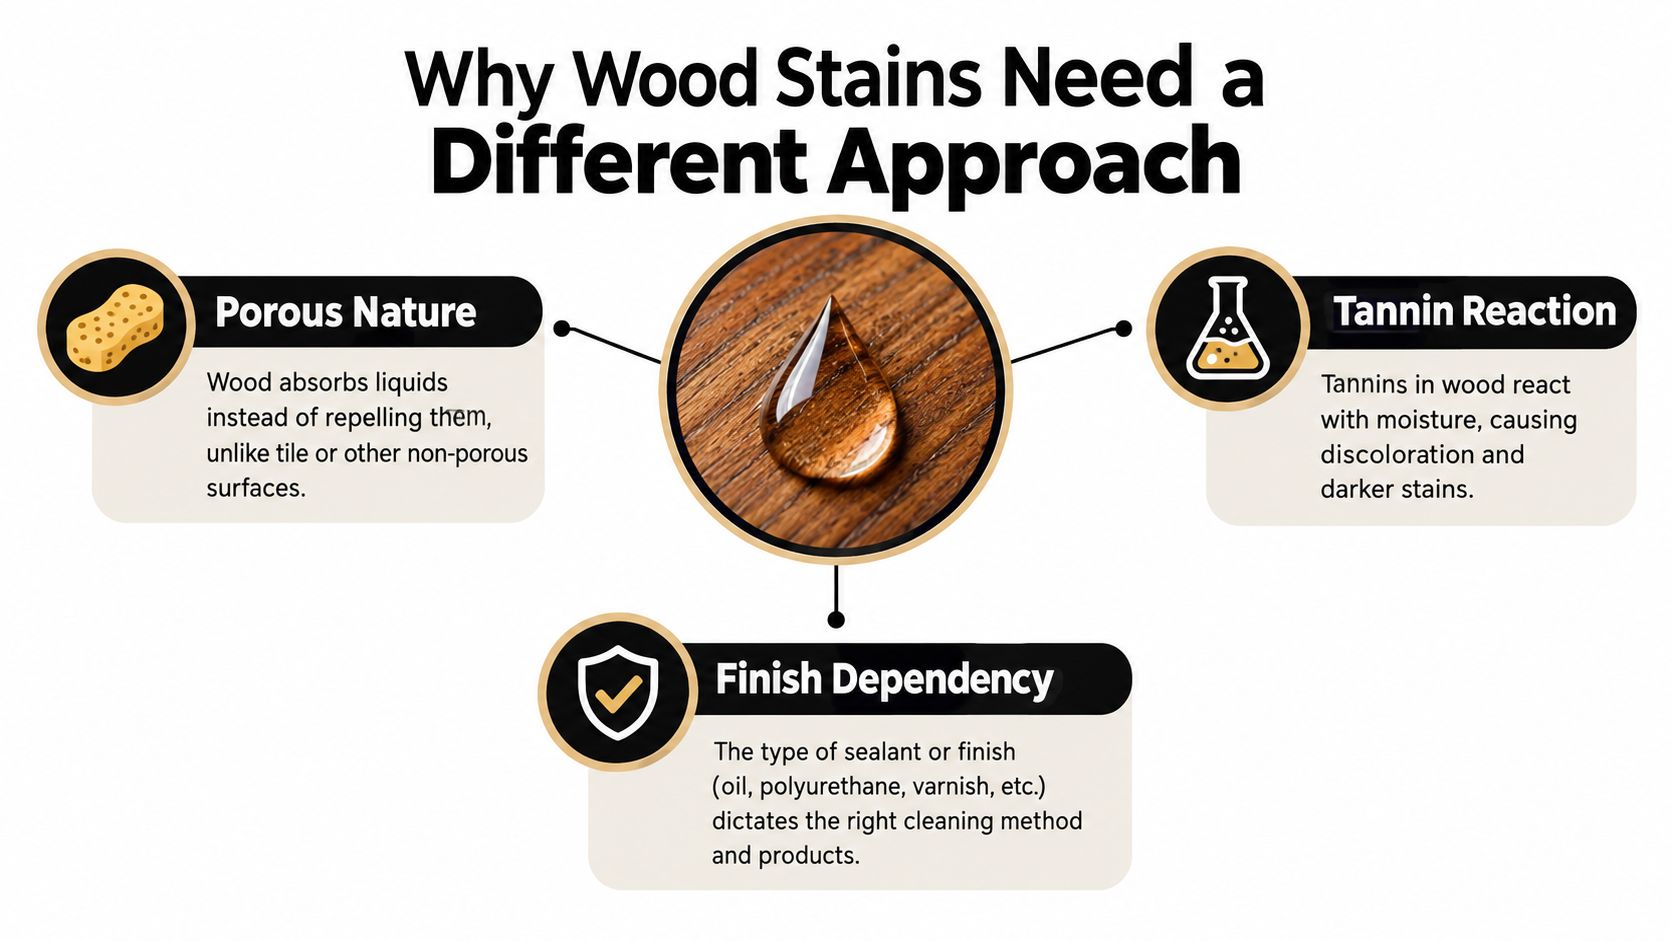
The three depths that matter
When I assess a stain, I put it into one of three groups.
- Surface marks. These sit on top of wax, polish, lacquer, varnish, or polyurethane. Think sticky residue, light food marks, or a fresh spill that hasn't had time to bite.
- Finish marks. These affect the protective layer itself. White water rings are the classic example. The timber may still be fine, but the finish has trapped moisture or turned hazy.
- Deep stains. These have gone into the wood. Dark water marks, pet damage, and old drink spills often land here.
The rule is simple. The shallower the mark, the milder the method should be.
Why guesswork causes damage
Household fixes go wrong because they ignore how different finishes behave. A method that helps on a hard film finish can make an oiled or waxed surface worse. Heat can shift a light white ring in a sealed finish, but too much can damage that same finish. Mild abrasion can help in the right place, but on the wrong surface it strips sheen and leaves a pale patch.
Practical rule: Don't choose the product first. Identify the finish and the depth of the mark first.
There's also a health side to this if you move beyond light surface cleaning. The UK Health and Safety Executive says wood cleaning and finishing can expose workers to hazardous substances and wood dust. It sets workplace exposure limits of 3 mg/m3 for hardwood dust and 5 mg/m3 for softwood dust over an 8-hour time-weighted average, and advises avoiding exposure at source, choosing safer waterborne products over solvent-based ones where possible, and using vacuum equipment rather than brushing dust into the air because cleaning itself can generate high airborne dust levels (HSE woodworking health and safety guidance).
That matters at home too. If you're creating dust, using strong solvents, or getting close to sanding through a finish, slow down. A small mark isn't worth turning into a room full of dust and an accidental refinish.
Identifying the Finish Before You Touch the Surface
Most stain-removal mistakes happen before any cleaning starts. Someone assumes “wood is wood”, applies the wrong liquid, and then wonders why the area turns dull, tacky, or patchy. Never start cleaning until the finish is named.
Quick checks you can do safely
Start in a hidden corner or underneath the piece if possible.
Look at the sheen first. A thick, even shine often points to lacquer, varnish, or polyurethane. A softer, lower-sheen look that still shows texture more naturally often points to oil or hardwax oil. Wax usually looks mellow rather than glassy and can show buffing marks.
Try a tiny water-bead check in an inconspicuous spot. If a few drops sit on top for a while, you're usually dealing with a sealed film finish. If the spot darkens quickly or seems to drink the water in, it's more likely wax or oil. Don't flood the surface, and wipe it away straight after.
Use a finger rub test very lightly. On a waxed surface, a gentle rub can sometimes leave a faint smear or slightly drag, especially on older furniture. Film finishes feel harder and cleaner under the fingertip.
What each finish usually tolerates
Some finishes are forgiving in one way and awkward in another.
| Finish | How to spot it | Safe cleaning limits |
|---|---|---|
| Wax | Soft sheen, slight drag under finger, older furniture often has it | Dry dusting, very light damp cleaning, rewaxing. Avoid strong solvents and acidic cleaning |
| Hardwax oil | Natural-looking surface, open grain still visible, spot repairs often blend well | Spot cleaning, careful maintenance products, local re-oiling if needed |
| Danish oil or similar oil finish | Low to mid sheen, timber grain feels close to the surface | Light damp cleaning, oil-safe cleaners, possible local refresh if finish has dried out |
| Lacquer | Film on top of wood, often smooth and even, can craze or go cloudy with age | Gentle cleaning only. Avoid guessing with solvents |
| Polyurethane varnish | Tough sealed surface, good water resistance, common on floors | Light damp cleaning, pH-neutral products, no standing water, avoid aggressive solvents |
A few warning signs
If the finish is flaking, gummy, crazed, or already patchy, stain removal becomes a repair job rather than a cleaning job. That's where many DIY attempts drift off course.
If you can't tell whether you're looking at wax, oil, or a film finish, treat the surface as delicate until proved otherwise.
One more point matters on floors. UK wood-floor maintenance guidance says spills should be wiped up immediately, standing water should never be left on wood, and daily sweeping or vacuuming is recommended, with weekly damp cleaning using a diluted wood-floor cleaner in commercial settings. It also gives a routine benchmark of about 1 capful of cleaner per litre of water for spray-mist cleaning, and warns against household detergents and acidic or alkaline cleaners that can break down oils and harm the finish (UK wood-floor maintenance guidance).
That guidance tells you a lot about finish tolerance. If a floor won't even tolerate standing water or household detergents, it certainly won't thank you for experimental scrubbing.
Everyday Household Options Versus Purpose-Made Cleaners
I'm not against cupboard remedies. Some do have a place. The problem is that people use them as a first move instead of a specific move. A wood cleaner made for the finish is usually the safer starting point, and household options are better kept for narrow jobs.
What household options actually do
A mild soap solution can help with a fresh surface mark on a sealed finish, provided the cloth is only lightly damp. It lifts residue. It doesn't repair damaged finish, and it won't pull a deep stain back out of the timber.
A brief bicarbonate of soda paste can help with some light marks on harder finishes because it works as a mild abrasive. It isn't a general cleaner, and it can leave a dull patch if you rub too long or use it on wax or oil.
White vinegar gets suggested constantly. In practice, I treat it cautiously. It may help with sticky residue on some sealed surfaces, but it's a poor choice for waxed or oiled wood and an unnecessary gamble when a proper wood cleaner is available.
Old remedies such as mayonnaise tend to get passed around because they occasionally improve the appearance of a mark. The trouble is that they can also leave grease behind, soften polish, or make the area messier.
Where purpose-made cleaners earn their keep
A pH-neutral wood cleaner is dull in the best possible way. It's designed to clean without leaving the floor sticky, stripping oil, or etching the surface. If you're maintaining rather than repairing, this is nearly always where to begin.
On oiled floors, manufacturer-matched maintenance products tend to behave more predictably than homemade mixtures. They're less likely to leave haze, and if you need to refresh a worn patch later, you're not fighting layers of soap film or random residues first.
If you're already trying to reduce harsh chemical use across the house, the same thinking behind eco-friendly carpet cleaning choices applies here. Use the mildest product that suits the material, rather than throwing strong cleaners at a surface that wasn't built for them.
| Option | Best for | Finish risk | Residue / effort |
|---|---|---|---|
| Mild soap on a damp cloth | Fresh surface dirt on sealed finishes | Moderate if over-wet or used repeatedly | Low residue if wiped dry, low effort |
| Bicarbonate paste | Light isolated marks on hard sealed finishes | Moderate to high on wax, oil, or delicate sheen | Can leave dullness, needs restraint |
| White vinegar mixture | Sticky residue on some robust sealed surfaces | High on wax and oil, risky on unknown finishes | Can smell, may need follow-up wipe |
| Mayonnaise or other oily home remedies | Occasional cosmetic improvement on minor rings | Unpredictable, can soften polish or add grease | Messy, often needs extra cleaning |
| pH-neutral wood cleaner | Routine cleaning and safest first attempt | Low when matched to finish | Minimal residue, straightforward |
| Purpose-made stain remover | Specific mark on a known finish | Varies by product, but more targeted | Usually cleaner result, less guesswork |
Household remedies aren't harmless just because they come from the kitchen.
Removing Specific Stain Types From Wood
The best stain removal work is staged. Start with the least invasive option that matches the finish, check the result, then decide whether to continue. If the mark isn't changing, repeating the same weak method rarely helps. If the finish starts changing before the stain does, stop.
White water marks
A white ring or cloudy patch usually means moisture is trapped in the finish rather than burned into the timber. This is the one situation where low, controlled heat can work.
A practical UK-tested method is to place a dry cloth over the mark and apply low heat in short bursts using a hot iron on its lowest setting or a hair dryer on low-to-medium heat, moving constantly to avoid scorching. If the mark persists, guidance recommends switching to a fine-grit sand-and-refinish approach or a mild abrasive paste such as bicarbonate of soda, always rubbing with the grain. The same UK guidance warns that overheating can damage the finish and that the mark may need multiple passes, so the method works best incrementally rather than with prolonged heat exposure (UK guidance on removing water marks from wood).
Use that method only on a finish that can tolerate it. Don't press heat onto wax and hope.
Deeper floor stains
On wooden floors, older stains need more diagnosis than enthusiasm. Trade guidance in the UK recommends a staged workflow. Identify whether the stain is water, oil, or tannin-based first, clear loose debris, then use a treatment that matches the stain. Options include a salt-and-cold-water paste, a vinegar-and-olive-oil wipe, or 100-grit sanding followed by feathering the edges and refinishing if the stain has gone beyond the surface layer. The same guidance notes that some stains need overnight dwell time or repeated applications, and warns that skipping identification and going straight to aggressive sanding often enlarges the repair area and makes blending harder (UK trade guidance on wooden floor stains).
That last point matters. A failed small repair often becomes obvious because the surrounding clean area gets damaged, not because the original mark was impossible.
Grease, oil, tea, coffee, and other everyday marks
For oil or grease, the first job is lifting as much contamination as possible without driving it deeper. Blot. Don't scrub. On an oiled surface, I'd rather do a careful local clean and then refresh the sheen if needed than rub hard and spread the patch wider.
For tea, coffee, or wine, don't assume the colour tells you the cure. Some marks sit mostly in the finish. Others react with the timber and darken. If the area still looks sharply defined after a careful surface clean, you're probably no longer dealing with simple residue.
If you also have other household surfaces to tackle after a messy spill, keep methods separate. The approach you'd use for removing glue from carpet has nothing to do with wood finish care, and that distinction saves a lot of accidental damage.
| Stain Type | Surface Finish | Recommended Method | Stop If |
|---|---|---|---|
| White water mark | Sealed film finish | Dry cloth plus low heat in short bursts, moving constantly | Finish turns dull, sticky, scorched, or unchanged after several careful passes |
| White water mark | Wax or oil | Avoid heat first. Try very light surface cleaning and assess whether it sits in the finish | Surface smears, loses sheen, or darkens |
| Dark water mark | Any finish | Diagnose depth first. If it's in the wood, surface cleaning won't solve it | Mark remains dark after finish-safe cleaning |
| Grease or oil | Oil or hardwax oil | Blot, then careful spot cleaning with finish-safe product | Sheen changes faster than stain lifts |
| Tea, coffee, wine | Unknown finish | Clean loose residue gently, then reassess depth before stronger action | Edge of repair grows or colour spreads |
A stain that doesn't change after the right first method usually needs a different category of repair, not more force.
Real Scenarios Where Wood Stain Removal Goes Wrong
The jobs that go badly nearly always follow the same pattern. The stain appears. Someone panics. They use whatever the internet suggested first, and the finish ends up looking worse than the mark.
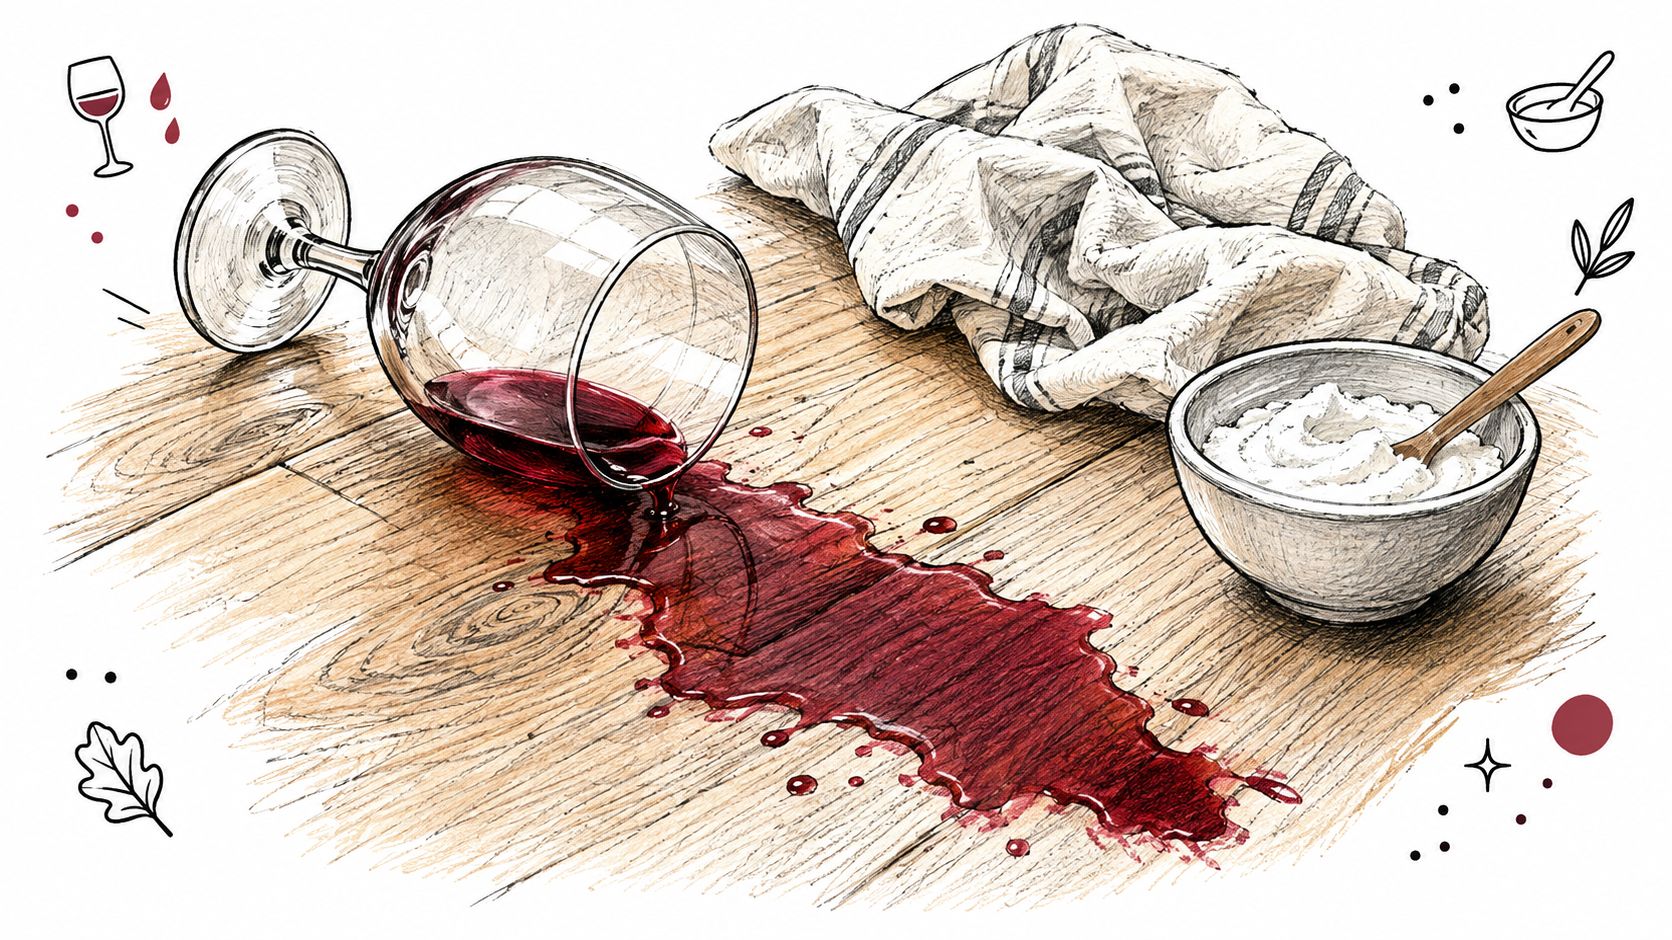
Red wine on an oak floor
Fresh red wine on oak looks dramatic, but the first minutes matter more than the first product. Blotting controls the spread. Scrubbing pushes pigment across the grain and into joints.
A common DIY error is leaving a bicarbonate paste on too long in the hope it will “draw it out”. Sometimes it lightens the mark. Sometimes it leaves a pale halo that stands out more than the spill ever did. On oak, where colour variation already shows clearly, that failed patch repair is hard to disguise.
The better workflow is calmer. Remove residue, identify whether you're dealing with a sealed finish or exposed absorption, then decide whether a localised treatment still makes sense.
Teacup ring on a waxed pine table
This one fools a lot of people because the ring looks like a wood stain when it's often a wax problem first. The moisture has affected the wax layer, not necessarily the pine beneath it.
People reach for vinegar because it sounds mild. On a waxed surface, that can leave the panel looking flatter and patchier. A light re-wax and buff may have been the right answer from the start. Sanding would have been completely disproportionate.
Here's a useful visual walkthrough before you try anything stronger:
Pet urine on engineered boards
Honesty matters. If moisture has reacted with the timber and the veneer has started to lift, you're beyond stain cleaning. Surface products can reduce odour or tidy the area temporarily, but they can't rebuild swollen layers or reverse deep discolouration.
On engineered boards, I've seen people keep washing the same patch because they think the mark is “still dirty”. It isn't. The board is damaged. At that point, local board repair or replacement is the realistic answer.
Three lessons come out of these jobs:
- Blot before you treat. Especially with coloured spills.
- Fix the layer that failed. A wax issue needs a wax-minded response.
- Know when cleaning has ended. Some marks become repair work very quickly.
Mistakes That Make Wood Stains Worse
A lot of wood damage doesn't come from the original spill. It comes from the rescue attempt. If you want to preserve the floor or table, restraint is usually the professional move.
Over-wetting the area
Too much liquid is still the most common mistake. It swells grain, creeps into joins, and can push staining deeper. On floors, it also spreads the problem beyond the visible mark.
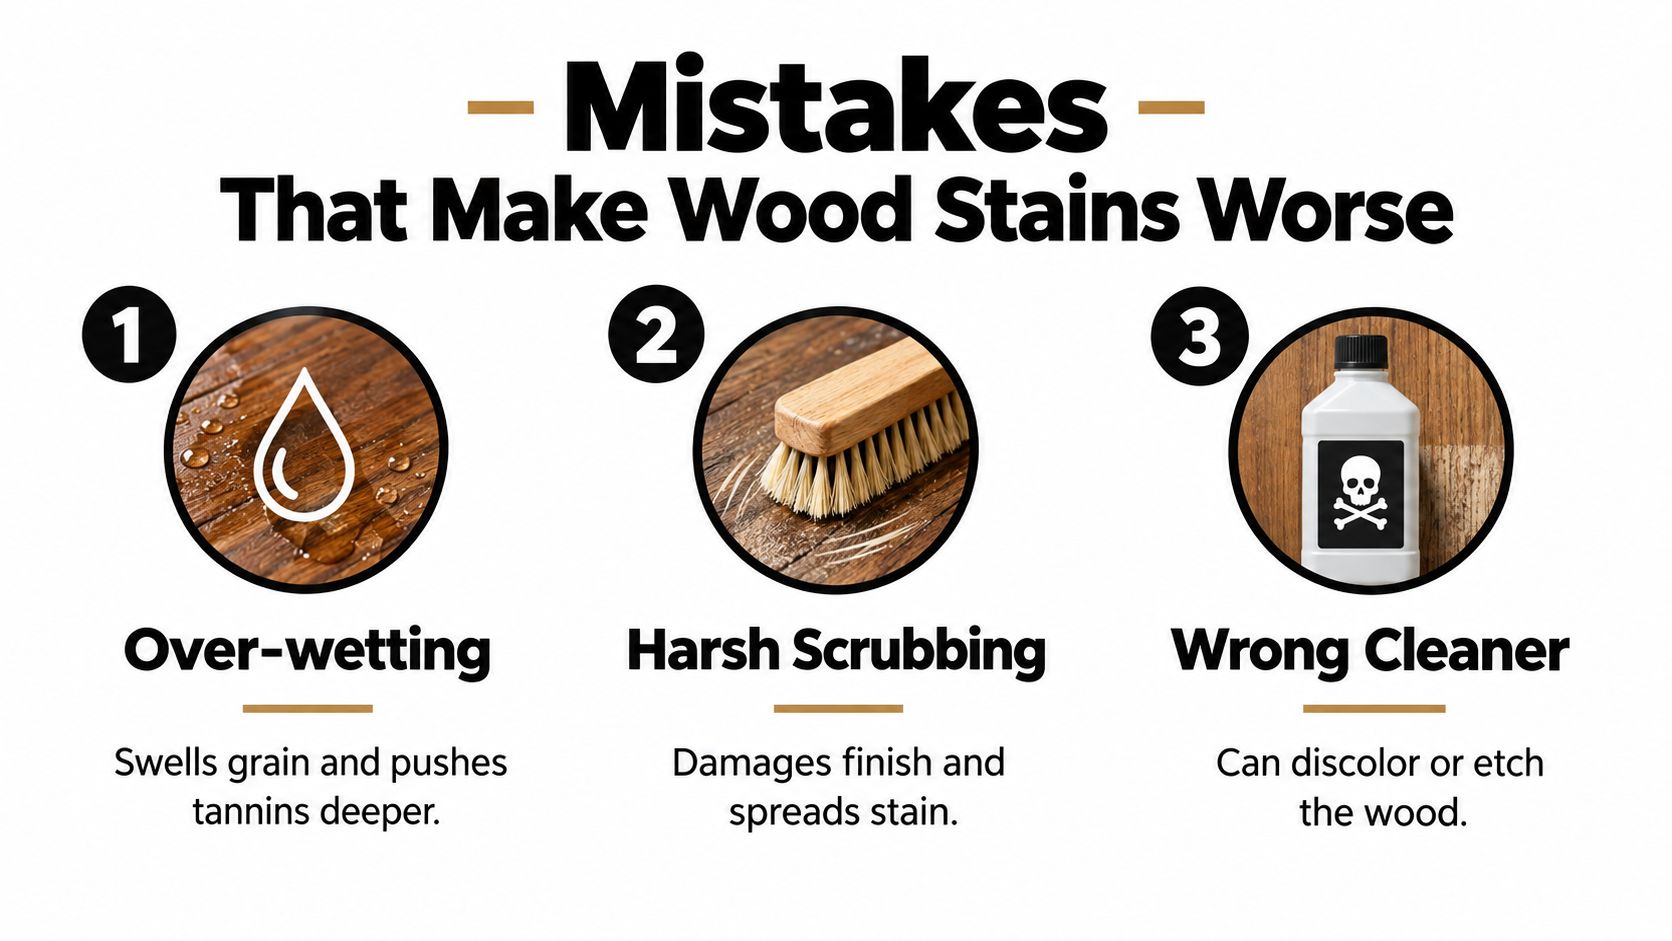
The same goes for routine cleaning. If your cloth or mop is wet enough to leave obvious moisture behind, it's too wet for wood.
Skipping identification and escalating too fast
A close second is using a cleaner before naming the finish. Oil over lacquer, wax over polyurethane, vinegar on wax, harsh abrasives on a thin finish. None of those end well.
A related error is jumping straight to sanding. Once you remove finish, you've changed the whole repair category. Blending a sanded patch into the surrounding sheen takes more skill than removing the original stain did.
Heat, harsh rubbing, and chemical mixing
Low heat can help some white water marks, but people tend to overdo it. Hold the iron too long, use a steamer, or keep heating after nothing is changing, and you can damage the finish itself.
Then there's the chemistry problem. Mixing household products is risky in any room, and on wood it adds surface damage to the safety issue.
- Too much pressure: hard scrubbing can cut through sheen and create a bright patch.
- Wrong grit: coarse sanding leaves a repair area that catches the light differently.
- Random mixing: bleach, vinegar, ammonia, and solvents have no business being improvised on a table or floor.
The smallest intervention that moves the stain is usually the right one.
Maintenance Routine and When to Call a Professional
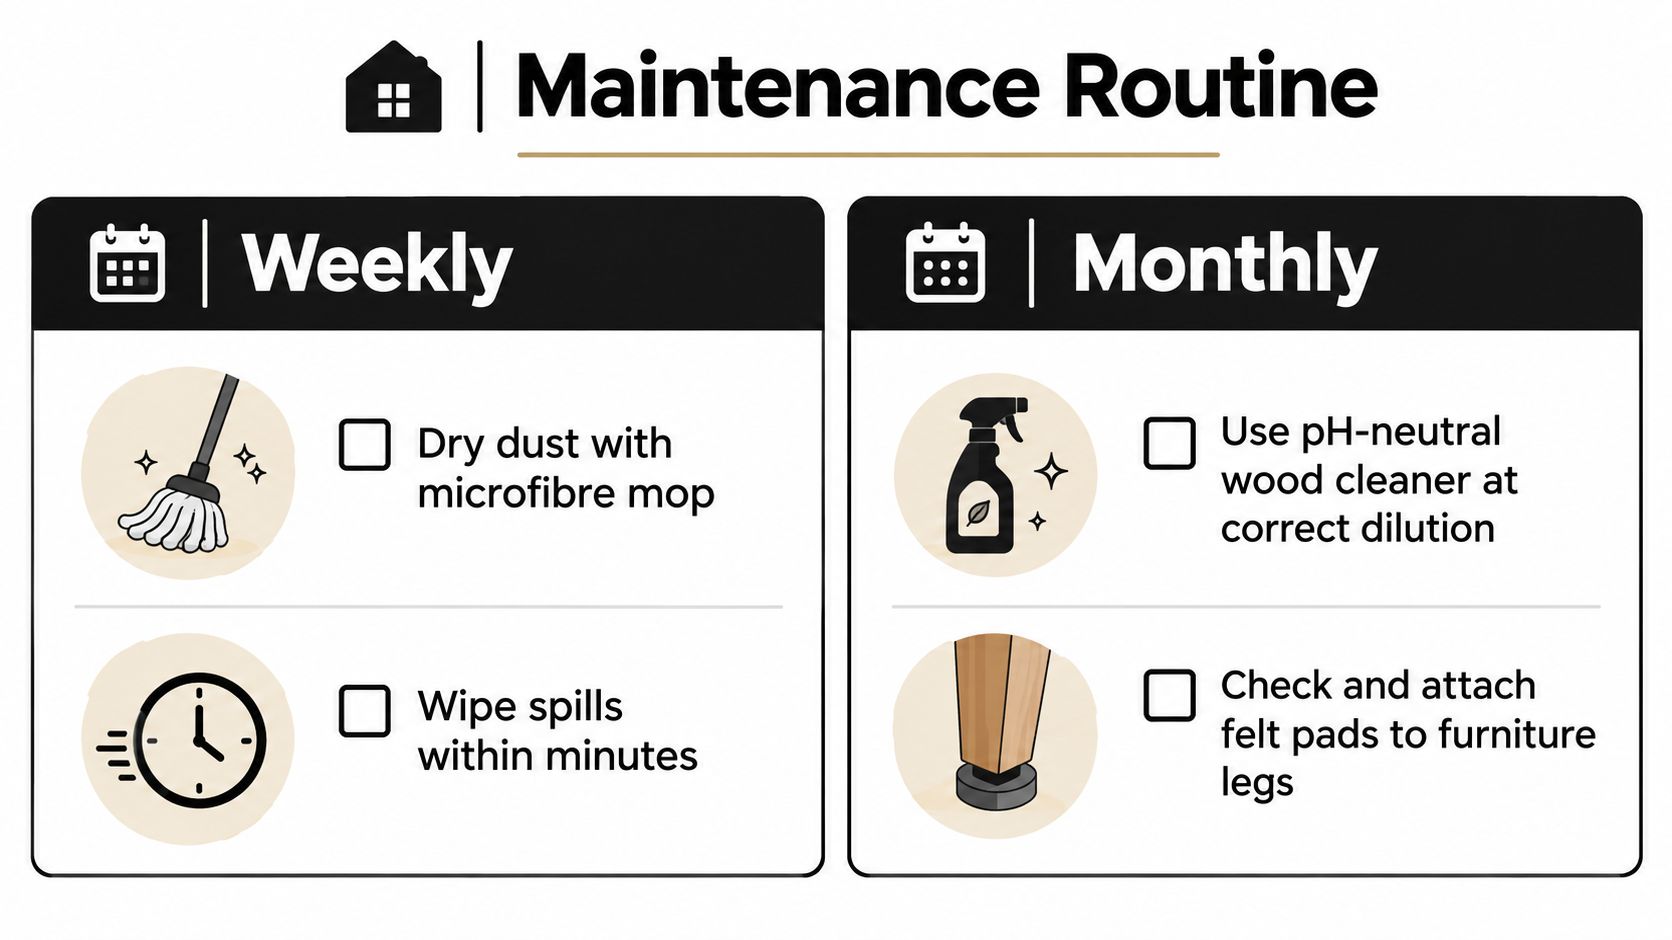
Good wood care is boring, and that's exactly why it works. Most successful maintenance is regular dry soil removal, quick spill response, and using less liquid than people think.
A simple routine that prevents most trouble
- Weekly dry clean: use a microfibre mop or vacuum with a suitable floor head.
- Deal with spills straight away: don't let water, wine, tea, or pet mess sit.
- Use the right cleaner sparingly: for routine damp cleaning, keep it light and matched to the finish.
- Protect high-contact areas: felt pads under chairs help more than you realise.
- Watch the finish, not just the dirt: if the surface starts looking thirsty, dull, flaky, or patchy, stop treating it as ordinary cleaning.
If you're reviewing what a full property refresh involves, it helps to understand what a deep clean includes so wood, carpets, kitchens, and bathrooms each get the right method rather than one cleaner being used everywhere.
Call a specialist when these signs appear
Book help if the stain keeps returning after drying, if dark spotting spreads, if the finish feels gummy or starts flaking, or if the mark clearly sits below the finish and covers a prominent area. I'd also stop if the repair is on a heritage floor, a veneered piece, or anything you can't afford to make patchy.
Ask for a finish test and a written quote. Be wary of anyone who wants to sand everything without first seeing whether a localised treatment can solve it.
Wood rewards patience. Most damage comes from acting fast in the wrong way, not from waiting a few extra minutes to identify what's happened.
If you've got a stained wooden floor, marked furniture, or a whole property that needs careful cleaning rather than guesswork, SWC Cleaning offers domestic and commercial cleaning services including deep cleans and end of tenancy work. If you're not sure whether a mark needs routine cleaning, stain treatment, or a specialist repair, get in touch and we can help you decide on the safest next step.
Generated with the Outrank tool